
Wezterm Mac Setup: The Ultimate Terminal with Tmux & Zoxide
Build the perfect Mac terminal with Wezterm, Starship prompt, tmux, and zoxide. Step-by-step guide covering installation, configuration, and productivity tips.
 Dragos14 min read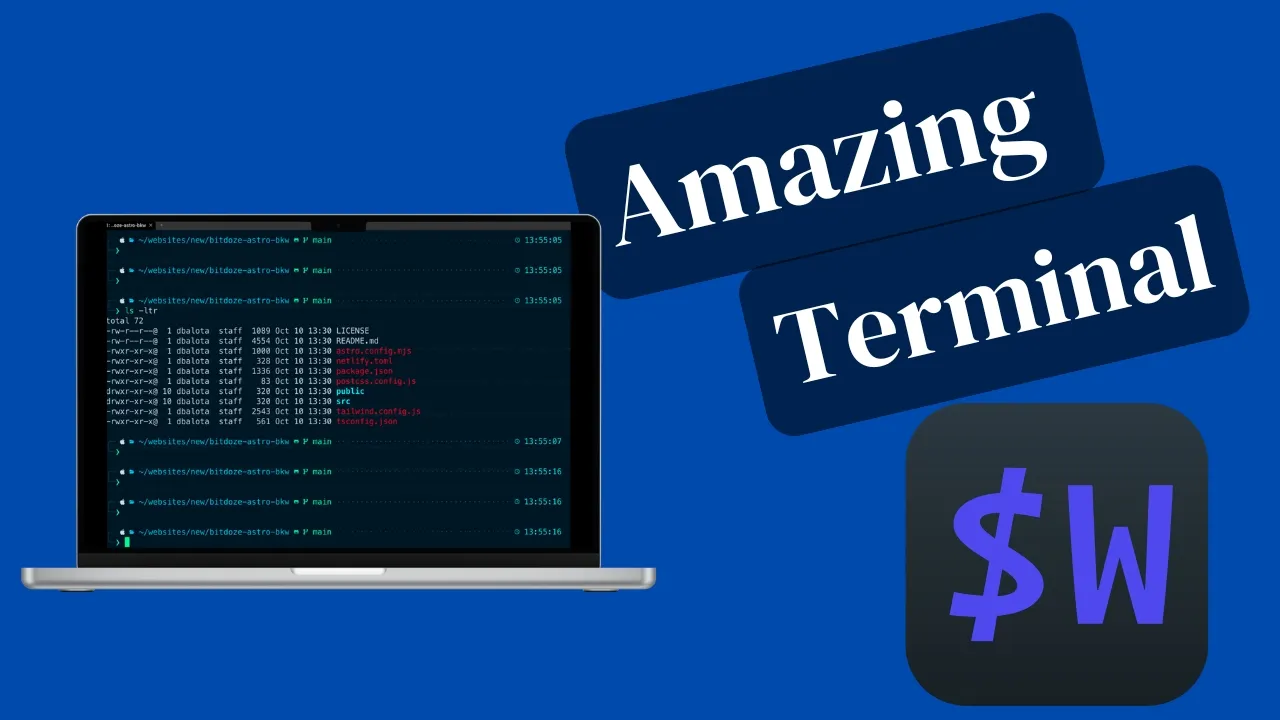
Wezterm is a modern terminal emulator written in Rust that I keep coming back to. It’s GPU-accelerated, configurable via Lua scripts, and has a built-in multiplexer. All things that matter when you live in a terminal eight hours a day.
Key features:
- GPU acceleration for smooth scrolling, even with heavy output.
- Lua configuration: programmable, not just a static config file.
- Built-in multiplexer: panes, tabs, and workspaces without tmux.
- Ligature support for programming fonts.
- Cross-platform: macOS, Windows, Linux with the same config.
- True color (24-bit) and a large built-in color scheme library.
- Image rendering directly in the terminal.
Ghostty 1.0 (released December 2024) is another solid macOS-native option if you want a Zig-based terminal with native look and feel. Wezterm still wins for me on Lua configurability, built-in multiplexing, and cross-platform config portability. If you want to explore Ghostty, check the Ghostty terminal setup guide.
Cost: Everything here is free
All tools in this guide (Wezterm, Starship, tmux, zoxide, Homebrew) are free and open source (MIT or similarly permissive licenses). No subscriptions, no paid tiers.
If you are interested to see some free cool Mac Apps you can check toolhunt.net mac apps section.
Install and configure Wezterm on Mac
Everything below flows from Homebrew. Once that’s installed, the rest is copy-paste commands.
Install Homebrew
Open your terminal and run:
/bin/bash -c "$(curl -fsSL https://raw.githubusercontent.com/Homebrew/install/HEAD/install.sh)"Follow the on-screen prompts. You may need your system password. Verify with:
brew --versionPermission denied?
If you hit permission errors, run xcode-select --install first to get the Xcode command-line tools, then retry.
Install Wezterm
brew install --cask weztermLaunch from Applications or Spotlight (Cmd+Space, type “Wezterm”).
Install Git
brew install gitVerify:
git --versionInstall Meslo Nerd Font
Nerd Fonts add programming-related glyphs (icons) to your terminal. Meslo is clear, readable, and widely supported.
brew install font-meslo-lg-nerd-fontRestart Wezterm after installing the font. Wezterm now bundles Nerd Font Symbols v3.3.0 as a fallback, but installing Meslo explicitly gives the best experience with Powerlevel10k, Starship, or any prompt that uses icon glyphs.
Setup Wezterm config file
Create the config file
touch ~/.wezterm.luaOpen it in your editor of choice:
vim ~/.wezterm.luaConfigure Wezterm
Paste this Lua config into ~/.wezterm.lua:
-- Pull in the wezterm API
local wezterm = require("wezterm")

-- This will hold the configuration.
local config = wezterm.config_builder()

-- This is where you actually apply your config choices

config.font = wezterm.font("MesloLGS Nerd Font Mono")
config.font_size = 19

config.window_decorations = "RESIZE|MACOS_USE_BACKGROUND_COLOR_AS_TITLEBAR_COLOR"
config.window_background_opacity = 0.8
config.macos_window_background_blur = 10

-- my coolnight colorscheme:
config.colors = {
    foreground = "#CBE0F0",
    background = "#011423",
    cursor_bg = "#47FF9C",
    cursor_border = "#47FF9C",
    cursor_fg = "#011423",
    selection_bg = "#033259",
    selection_fg = "#CBE0F0",
    ansi = { "#214969", "#E52E2E", "#44FFB1", "#FFE073", "#0FC5ED", "#a277ff", "#24EAF7", "#24EAF7" },
    brights = { "#214969", "#E52E2E", "#44FFB1", "#FFE073", "#A277FF", "#a277ff", "#24EAF7", "#24EAF7" },
}

-- and finally, return the configuration to wezterm
return config
What this does:
- Sets the font to Meslo Nerd Font Mono (the one we just installed).
- Font size 19. Adjust to your display and preference.
window_decorations = "RESIZE|MACOS_USE_BACKGROUND_COLOR_AS_TITLEBAR_COLOR"gives you a resizable window with a titlebar that matches your terminal background. Looks cleaner on macOS.- Background at 80% opacity with a blur effect behind it (macOS only).
- Custom “coolnight” color scheme: dark blue background with bright, readable text colors.
After saving, Wezterm detects changes and shows an error window if there are deprecated or invalid fields. If everything looks right, the config applies automatically. You can also force a reload with Ctrl+Shift+R.
New macOS-specific Wezterm tweaks
These options only work on macOS:
macOS-only settings
These config options have no effect on Linux or Windows.
-- Extend terminal content behind the MacBook notch in fullscreen
config.macos_fullscreen_extend_behind_notch = true

-- Remove rounded corners (sharp square look)
-- Add MACOS_FORCE_SQUARE_CORNERS to window_decorations:
-- config.window_decorations = "RESIZE|MACOS_USE_BACKGROUND_COLOR_AS_TITLEBAR_COLOR|MACOS_FORCE_SQUARE_CORNERS"

-- Center content when the window isn't an exact cell-multiple size
config.window_content_alignment = "Center"
The notch support is nice on newer MacBooks. You get a few extra rows of terminal content in fullscreen mode. The titlebar color matching makes Wezterm blend with its own background instead of having a contrasting macOS titlebar strip.
⚠️ Powerlevel10k status and prompt options
Powerlevel10k is on life support
The maintainer has declared the project has “very limited support, no new features, most bugs will go unfixed.” It still works today, but consider Starship below for an actively maintained alternative.
Powerlevel10k (p10k) is still the most popular Zsh prompt (54k+ GitHub stars) and it still works. But the project is effectively frozen. If you’re setting up fresh, Starship is the better bet.
Why Starship: Cross-shell (zsh, fish, bash), written in Rust, actively maintained, simple TOML config. No zsh-specific lock-in. If you switch shells later (see the Fish vs Zsh comparison), your prompt carries over.
Install and activate:
brew install starship
echo 'eval "$(starship init zsh)"' >> ~/.zshrc
source ~/.zshrc
Create a basic config at ~/.config/starship.toml:
# See https://starship.rs/presets/ for ready-made presets
# Example: enable all default modules
format = "$all"

[git_status]
format = '([$all_status$ahead_behind]($style) )'

[nodejs]
format = "via [🤖 $version](bold green) "
Starship ships with preset themes you can browse with starship preset. The Catppuccin Powerline preset is popular if you want a powerline-style look without manual config.
For more on Starship, see the Starship and Ghostty setup guide or Starship with Fish shell if you use Fish.
p10k still works fine today. Install it if you want, but know that bugs won’t be fixed.
brew install powerlevel10k
echo "source $(brew --prefix)/share/powerlevel10k/powerlevel10k.zsh-theme" >> ~/.zshrc
source ~/.zshrc
On first load, the p10k configuration wizard walks you through prompt style, segments (git status, time, etc.), colors, and icon choices. You can re-run it anytime with p10k configure.
Fine-tune later by editing ~/.p10k.zsh.
Setup zsh-autosuggestions plugin
zsh-autosuggestions shows faded suggestions as you type, based on your command history. Press the right arrow key to accept a suggestion.
brew install zsh-autosuggestions
echo "source $(brew --prefix)/share/zsh-autosuggestions/zsh-autosuggestions.zsh" >> ~/.zshrc
source ~/.zshrc
For more details on zsh autocomplete behavior, see the comprehensive zsh autocomplete guide.
Setup zsh-syntax-highlighting
zsh-syntax-highlighting colors commands as you type: valid commands in green, errors in red, existing file paths underlined. Catches typos before you hit enter.
brew install zsh-syntax-highlighting
echo "source $(brew --prefix)/share/zsh-syntax-highlighting/zsh-syntax-highlighting.zsh" >> ~/.zshrc
source ~/.zshrc
For more customization options, check the full zsh syntax highlighting guide. You can also browse more useful plugins in the best Zsh plugins for 2026.
Enhance Wezterm with tmux and zoxide
Wezterm is already capable on its own, but tmux and zoxide fill gaps that matter for real workflows: persistent sessions and fast directory jumping.
What is tmux and how can it help
tmux is a terminal multiplexer. It lets you create multiple terminal sessions inside a single window, detach from them, and reattach later. This is critical for remote server work: you can SSH in, start a tmux session, disconnect, and pick up right where you left off.
tmux 3.7 is current
tmux 3.6+ added scrollbars and Mode 2031 theming. brew install tmux gets you the latest version.
Install and start:
brew install tmux
tmux
For a hands-on introduction, see the tmux basics guide.
Wezterm built-in multiplexing vs standalone tmux
Wezterm already has its own multiplexer: panes, tabs, and workspaces built right in. For purely local workflows (splitting your terminal into panes, switching between tabs), Wezterm’s built-in mux is enough. You don’t need tmux at all.
Where tmux still wins:
- Persistent remote sessions: SSH into a server, start tmux, detach, come back later. Wezterm’s mux doesn’t persist across SSH disconnects.
- Session sharing: Two users can attach to the same tmux session (pair programming on a remote box).
- Reboot survival: tmux sessions survive local reboots if the remote server stays up.
If you only work locally, skip tmux and use Wezterm’s built-in panes (Ctrl+Shift+D for horizontal split, Ctrl+Shift+E for vertical split).
Wezterm tmux -CC control mode
Wezterm now has “very usable” tmux -CC support. Running tmux -CC inside Wezterm starts tmux in control mode, where Wezterm acts as the GUI client. You get tmux’s session persistence with Wezterm’s rendering and keybindings. This is a hybrid option for power users who want the best of both.
What is zoxide and how can it help
zoxide replaces cd with a smarter version that learns from your usage. After a few days, z project jumps to ~/code/my-project without typing the full path. It’s one of those tools that feels like a small thing until you try going back.
Install and activate:
brew install zoxide
echo 'eval "$(zoxide init zsh)"' >> ~/.zshrc
source ~/.zshrc
Usage: replace cd with z. That’s it. The more you use it, the smarter it gets.
zoxide has a doctor subcommand that checks if your shell hooks are set up correctly. Run it if z doesn’t seem to be working:
zoxide doctorFor a deeper dive, see the full zoxide guide.
Verify and troubleshoot your setup
After completing all the steps above, run these checks to confirm everything works.
Font verification
Run this inside Wezterm:
wezterm ls-fonts --text "Test"It should list MesloLGS Nerd Font Mono. If it shows a fallback font, restart Wezterm or check that the font name in your config matches exactly.
Config error detection
Wezterm now shows an error window if your ~/.wezterm.lua has deprecated or invalid fields. If you see this window after editing your config:
- Read the error message. It names the specific field.
- Fix the Lua syntax or field name.
- Press
Ctrl+Shift+Rto reload the config without restarting Wezterm.
Ctrl+Shift+L opens the debug overlay / Lua REPL, useful for inspecting errors or testing config values live.
zoxide and prompt diagnostics
# Check zoxide shell integration
zoxide doctor

# Verify terminal type
echo $TERM
# Should show: xterm-256color

# Starship: browse available presets
starship preset

# Powerlevel10k: re-run configuration wizard
p10k configure
Common failure modes
Permission denied on brew install
Run xcode-select --install first to get the Xcode command-line tools, then retry the brew install command.
Font not showing in Wezterm
Restart Wezterm after installing the font. Run wezterm ls-fonts --text "Test" to confirm which font is active. Make sure the font name in your .wezterm.lua matches what Homebrew installed. The name is case-sensitive.
zoxide z command not found
Make sure eval "$(zoxide init zsh)" is in your ~/.zshrc. Open a new terminal tab or run source ~/.zshrc. Run zoxide doctor to diagnose further.
Prompt looks broken or empty
For Starship: run starship preset to browse presets, or check that eval "$(starship init zsh)" is the last prompt-related line in your ~/.zshrc. For Powerlevel10k: run p10k configure to re-run the wizard. If colors look wrong in tmux, add set -g default-terminal "tmux-256color" to ~/.tmux.conf.
Alternative: Ghostty terminal
Ghostty 1.0 (released December 2024) is a macOS-native terminal written in Zig by Mitchell Hashimoto. It’s fast, GPU-accelerated, and feels native on macOS in a way that few cross-platform terminals do.
Where Wezterm still has the edge:
- Lua configuration: Wezterm’s config is a full programming language. Conditional logic, functions, dynamic values. Ghostty uses a simpler key-value format.
- Built-in multiplexer: Wezterm’s panes and workspaces work without tmux. Ghostty has no built-in mux.
- Cross-platform: Same
.wezterm.luaworks on macOS, Linux, and Windows. Ghostty is still catching up on Linux.
If you’re curious about Ghostty, see the Ghostty terminal setup guide. For a prompt setup that works great with either terminal, check the Starship and Ghostty setup guide.
Conclusion
You now have a terminal stack built from free, open-source tools: Wezterm as the emulator, Starship (or p10k) for the prompt, tmux for persistent sessions, and zoxide for fast directory jumping. Everything here runs on macOS with Homebrew. No paid apps, no subscriptions.
Wezterm’s Lua config makes it uniquely flexible among modern terminals. You can tweak colors, keybindings, window behavior, and conditional logic all in one file. Start with the config above, then experiment.
If you want to go deeper, explore the Starship and Ghostty setup guide or browse the top Fish shell plugins if you’re considering switching shells.